How to build a carry trade: yield, swap and unwind risk
A carry trade earns the interest difference between two currencies — and survives on risk rules, because the unwind is violent. Here is how to construct one properly.
The carry trade is the market's oldest income strategy: borrow a low-yield currency, invest in a high-yield one, and earn the interest difference every night. The income is real, the mechanics are simple, and the risk — the unwind that reverses the whole position violently when the market's mood turns — is the reason most carry traders eventually give the income back. Building the trade properly means building the risk rules first and treating the yield as what it actually is: compensation for a risk that will arrive.
This guide explains the carry trade's construction, the pair selection and the risk framework. The mechanics are in carry trade explained; the unwind in the carry unwind explainer.
What the trade actually is
A carry trade has three parts. The trader borrows — sells — a low-yield funding currency, buys a high-yield currency or asset, and collects the interest difference through the swap, credited daily. The trade's profit is the yield; its risk is the exchange rate: if the funding currency strengthens against the investment, the exchange-rate loss can erase years of interest in days.
The trade's defining feature is that everyone runs versions of it. The crowding is why the income exists — the market pays a premium to those willing to hold the risk — and why the unwind is violent: when the trade reverses, the exits all flow through the same door. The carry unwind explainer covers the mechanics in full.
Choosing the pair
The pair selection decides the trade's economics, and three questions frame it:
The yield gap. The interest difference between the two currencies is the income — the wider the gap, the larger the daily swap. The gap's size is the first filter: a pair with a thin gap does not pay enough for the risk. The swap and trading costs guide shows how to read the swap in the platform.
The funding currency's risk profile. The currency you borrow carries the unwind risk, and the market's classic funding currencies — the yen, the franc — are exactly the ones that spike when the carry unwinds. Borrowing the yen means the trade's risk is intervention-shaped as well: the authorities' yen support (report) is a direct threat to the trade's exchange-rate side. The yen haven explainer covers the funding side's behaviour.
The investment currency's carry quality. The high-yield side's quality matters: a high-yield major like the aussie carries different risks from an EM currency with crisis exposure. The EM explainer covers the high-yield side's risk premia — the yield is higher exactly because the crisis risk is real.
The practical starting point for most retail traders is the major-pair version: the yen as funding against a higher-yielding major, or the dollar against a higher-yielding EM — with the trade's size and stop rules doing the risk management the pair selection cannot.
The construction, step by step
The trade's construction has five steps:
- Measure the swap honestly. The platform's symbol specification lists the long and short swap rates — the trade's daily income, with the broker's mark-up included. Multiply by the holding period's nights, including the triple days. The rollover explainer covers the swap's mechanics.
- Set the exchange-rate risk first. Before the income, decide the trade's exit: the stop-loss level where the exchange-rate loss outweighs the yield's value, and the structure that anchors it. The stop-loss guide supplies the anchoring logic — the carry trade's stop is its most important line.
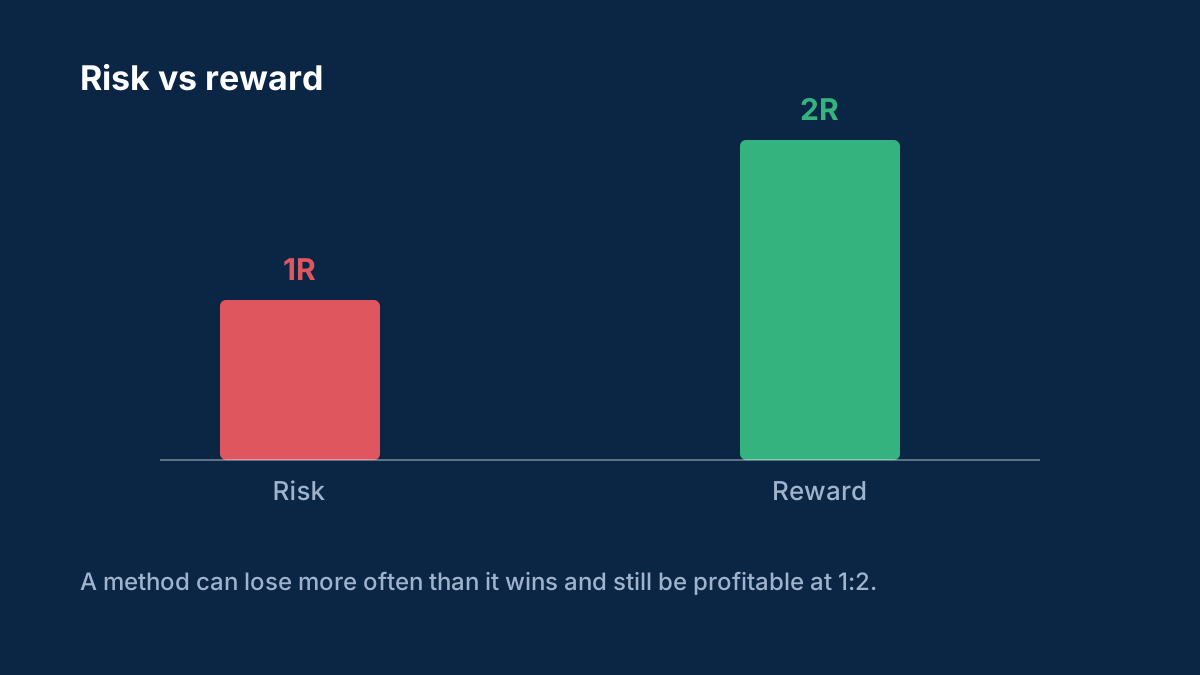
- Size for the unwind, not the income. The position must survive the trade's worst case: the funding currency's spike during an unwind, which can be hundreds of pips in days. The size follows the risk-first arithmetic from position sizing — and the carry trade's version uses the unwind scenario as the stop distance.
- Plan the exit triggers. The unwind's early warnings are the trade's exit signals: volatility rising, the funding currency strengthening, the risk mood turning. The risk sentiment guide supplies the five-minute read; the trade's rules must say which signals end it.
- Track the income against the risk. The journal records the swap earned and the drawdowns survived, so the trade's true economics — the yield minus the unwind losses — stay visible. The journal guide has the fields.
The risk rules that make it survive
The carry trade's survival rules are the difference between the strategy and the disaster:
Never size for the income. The yield's size is not the position's justification — the unwind risk is, and the position must be small enough that the worst unwind is a setback, not an end. The trade's most common failure is the position sized to the yield's promise rather than the unwind's threat.
Have the exit before the entry. The unwind's exit rules are written before the trade exists: the volatility trigger, the funding-currency spike, the risk-mood turn. When the warnings fire, the trade closes — the carry unwind explainer lists the signatures.
Treat the yield as compensation, not income. The swap is the market paying for the risk you are holding — and the payment is never enough at the extremes. The mental frame matters: the carry trade is a risk trade with a yield attached, not an income stream with a risk footnote.
The current environment's read
The current cycle is the carry trade's cautionary display: the yen carry against the dollar's near-4% (report) pays a wide gap — and carries the standing intervention threat (report) plus the BoJ's normalisation (preview) as its two tails. The trade's economics are live and tempting, and its risk rules are the only thing standing between the trader and the unwind. The BoJ dilemma analysis maps the tails.
The carry trade is the market's most honest bargain: steady yield in exchange for the unwind's violence. Build the risk rules first, size for the worst case, and the trade becomes a durable strategy instead of a slow-motion disaster.
Sources
Common questions
What is a carry trade in forex?
Borrowing a low-yield currency, investing in a high-yield one, and earning the interest difference through the daily swap. The profit is the yield; the risk is the exchange rate reversing.
How do I choose a carry trade pair?
By the yield gap's size, the funding currency's unwind risk, and the investment currency's quality. The wider gap pays more — and the riskier funding currencies spike harder when the trade unwinds.
What is the biggest risk in a carry trade?
The unwind: the funding currency strengthens violently when risk appetite turns, and the exchange-rate loss erases months of yield in days. The risk is structural, not occasional.
How should I size a carry trade?
For the unwind scenario, not the income: the position must survive the funding currency's worst spike. The risk-first sizing arithmetic applies with the unwind as the stop distance.
Does the carry trade still work when intervention risk is live?
The yield gap is still there, but the intervention threat is a direct risk to the exchange-rate side. The trade works only with the exit rules and the sizing built for exactly that tail.
This article is for information only and is not financial advice. Trading forex and CFDs carries a high risk of losing money. Read the risk warning. Spotted an error? Tell the editors.
Comments
Log in to join the discussion. Comments follow the community guidelines.
Log in to commentLoading comments…