The 2026 yen intervention: what happened and what's next
Japan and the US intervened jointly in July to support the yen — a rare coordination that still shapes every yen trade. Here is what happened, why it worked, and what the authorities do next.
In July 2026, Japan and the United States intervened jointly in the currency market to support the yen (report) — a rare coordination between the two authorities, and the event that still shapes every yen trade. The intervention was not just a one-day operation; it established the rules of the current game: the authorities will act, they will act together, and the market's yen shorts live with that threat every day.
This analysis reconstructs the intervention and its aftermath. The mechanics are in the intervention explainer; the pair's framework in the USD/JPY guide.
What happened
The intervention came against a familiar backdrop: the yen weakening under the weight of the US-Japan rate gap, with the carry trade's positioning crowded against it. The authorities judged the move excessive and acted — buying yen, selling dollars, in coordination between Japan's Ministry of Finance and the US Treasury (report).
The coordination was the event's most important feature. Unilateral intervention is a known tool; joint intervention is a statement — it signals that both sides' authorities agree the yen's weakness is a problem, and it multiplies the operation's psychological force. The intervention explainer covers why coordination changes the market's read.
Why it worked — and its limits
The intervention succeeded on the intervention playbook's terms: it fought a crowded, one-sided market with the credibility of coordination, and the yen's slide paused. But the playbook's limits are equally visible in the aftermath. The intervention explainer sets out the conditions: intervention works against positioning, not fundamentals — and the fundamentals here are the rate gap, which the intervention did not touch.
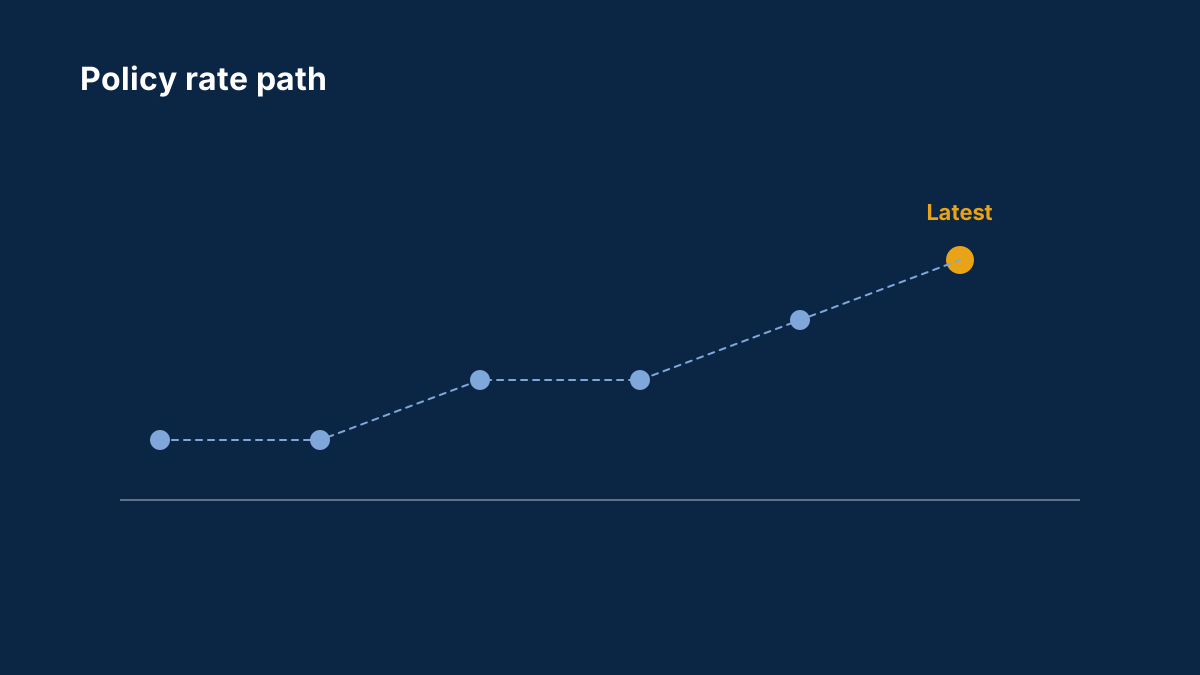
The gap remains the structural force: the Fed near 4% (report) against the BoJ's 1.00% (preview). The intervention can cap the yen's weakness while the authorities are active, but it cannot close the gap — and every day the gap persists, the carry trade's yield rebuilds the pressure the intervention relieved. The intervention bought time; the BoJ's policy is what must use it. The BoJ dilemma analysis covers the three-sided problem the time was bought for.
The standing threat
The intervention's lasting effect is the standing threat. The market now knows the authorities will act, and the knowledge changes the yen's behaviour even when they don't:
The rallies cap themselves. The yen's weakness runs into a ceiling the market itself maintains — traders know the authorities can arrive, so the pair's upside is priced with the intervention premium. The USD/JPY explainer covers the cap's mechanics.
The verbal ladder moves the pair. The authorities' warnings — calling moves excessive, speculative, disorderly — are the intervention's early form, and the market prices each escalation. The central bank language explainer supplies the vocabulary.
The positioning stays honest. The threat discourages the most aggressive yen shorts, which changes the pair's character: the crowded trades that made the intervention necessary are slower to rebuild. The carry unwind explainer covers the crowding dynamics.
What happens next
The intervention's aftermath has three scenarios:
The policy resolution. The BoJ's normalisation continues, the gap narrows on policy rather than intervention, and the yen's strength becomes fundamental. The scenario is the authorities' preferred one — the BoJ dilemma analysis covers its constraints.
The repeated defence. The gap persists, the pressure rebuilds, and the authorities intervene again — defending levels, escalating the warnings, buying more time. The scenario is the intervention tool's steady state, and the intervention explainer covers how repeated defences behave.
The overwhelmed defence. The fundamentals overpower the intervention — a widening gap, a crisis-driven dollar surge — and the authorities' operations become absorbed by the market. The scenario is the tool's failure mode, documented in the intervention explainer's failure cases.
The market's pricing of the three scenarios is the yen's daily story: the pair trades the gap's persistence against the intervention's threat, with the BoJ's path deciding which force wins.
How to trade in the intervention's shadow
The practical read:
- Treat the threat as a permanent feature. The intervention premium is in the pair's price, and the rallies cap themselves. The USD/JPY guide covers the sizing for the two-speed behaviour.
- Watch the verbal ladder as the early warning. The authorities' escalating language precedes the action, and the intervention explainer has the ladder's signals.
- Track the gap as the fundamental. The intervention buys time; the gap decides the war. The 10-year yield explainer supplies the yield-side read.
- Price the BoJ meetings for all three scenarios. The meetings are where the policy resolution or the renewed defence gets decided. The BoJ dilemma analysis has the framework.
The intervention's technical signature
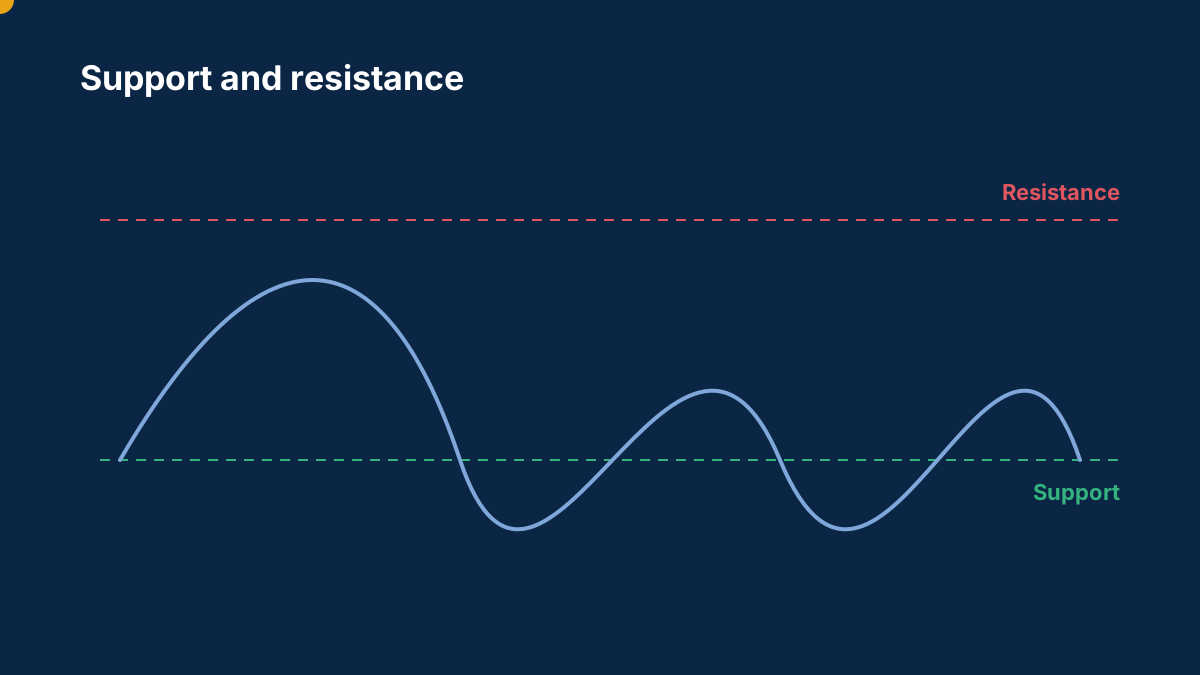
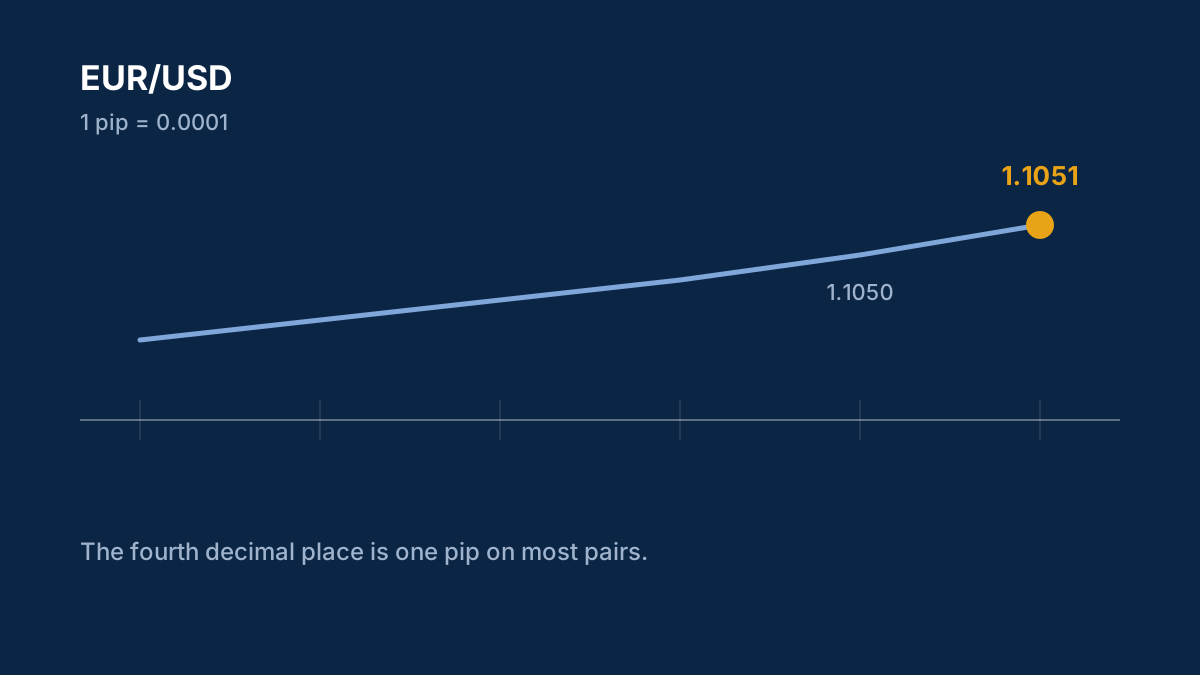
The intervention's technical signature deserves its own read, because the chart records what the announcements do not. The signature's elements: the vertical move — the hundreds of pips in minutes against the trend, the operation's fingerprint; the defended level — the price zone the authorities repeatedly support, visible as the pair's rallies stalling at the same area; and the aftermath's structure — the retracement and the second defence that tell the market whether the operation has legs. The intervention explainer covers the signature's mechanics; the 2026 operation's chart is the signature's live example, and the USD/JPY guide turns the signature into the pair's trading map.
The signature's practical use is the level identification: the defended level becomes the pair's short-term anchor, and the market's tests of it — the rallies that approach and stall — are the intervention's ongoing story. The trader who marks the level after the operation trades the pair's post-intervention structure; the trader who doesn't trades the pre-intervention one. The support and resistance guide supplies the level-marking mechanics the signature feeds.
The verbal ladder, in practice
The verbal ladder deserves the practical walk, because it is the intervention's early warning system and its most tradeable signal. The ladder's rungs: the first warnings — officials describing the yen's moves as "rapid" or "one-sided"; the escalation — "excessive", "speculative", the statements that say the authorities are "watching with a sense of urgency"; and the pre-action signal — "prepared to act decisively", the phrasing that historically precedes the operation. The central bank language explainer covers the vocabulary; the ladder's rungs are the vocabulary in escalating sequence, and the market prices each rung as it is climbed. The intervention explainer documents the ladder's history.
The ladder's practical rule is the positioning: the higher the rung, the nearer the operation, and the trader's yen shorts should shrink as the ladder climbs. The ladder is the intervention's own warning, published in advance — and the traders who ignore it are the positioning the operation targets. The USD/JPY explainer covers the ladder's read in the pair's daily context.
The intervention versus the BoJ's policy
The intervention's limits trace the boundary between the two tools: the intervention manages the yen's price, and the BoJ's policy manages the yen's fundamentals — the gap that keeps the price under pressure. The boundary's meaning: the intervention buys time for the policy, and the policy's pace decides whether the time is used. The BoJ's normalisation at 1.00% (preview) is the policy's current step; the intervention's 2026 operation (report) was the price's — and the market's question is whether the two converge before the pressure rebuilds. The BoJ dilemma analysis covers the two tools' interaction.
The boundary's practical read is the scenario weighting: the intervention's persistence matters less than the BoJ's pace, because the policy resolves what the intervention only manages. The trader who watches only the intervention watches the symptom; the trader who watches the BoJ's path watches the cause — and the BoJ dilemma analysis supplies the cause's framework.
The aftermath's trading rules
The intervention's aftermath has its own trading rules, and the rules follow the operation's structure. Rule one: don't chase the spike — the operation's first move is the authorities' price, not the market's, and the retracement that follows is the market's verdict. Rule two: trade the defended level — the authorities' support zone is the pair's short-term anchor, and the tests of it are the tradeable structure, per the support and resistance guide. Rule three: size for the second operation — the threat's persistence means the vertical move can repeat without warning, and the position must survive it, per the position sizing guide. Rule four: track the gap, not the headlines — the intervention's fate follows the rate gap's direction, and the 10-year yield explainer supplies the gap's daily read.
The rules' shared principle is the operation's nature: the intervention is the authorities' trade, not the trader's — and the trader's edge is the aftermath's structure, the defended level and the gap's direction, not the operation's moment. The intervention explainer supplies the framework; the rules above are its trading translation.
The 2026 joint intervention was the yen's regime change: from a market to a managed market, with the authorities' threat now a permanent feature of the price. Read the gap, the ladder and the BoJ's path, and the intervention's shadow becomes the pair's most reliable structure.
Sources
Common questions
What was the 2026 yen intervention?
A joint operation by Japan and the United States in July, buying yen to support it against a weakening trend driven by the US-Japan rate gap.
Why did the joint intervention matter?
Coordination multiplies the operation's force: it signals both authorities agree the yen's weakness is a problem, and it established the standing threat that still shapes the pair.
Did the intervention solve the yen's weakness?
It paused it. Intervention fights positioning, not fundamentals — the rate gap remains, and the carry trade's pressure rebuilds. The intervention bought time for the BoJ's policy.
How does the intervention threat change USD/JPY?
The rallies cap themselves, the verbal warnings move the pair, and the positioning stays less crowded. The threat is a permanent feature of the pair's price.
What happens if the authorities intervene again?
The repeated-defence scenario: levels defended, warnings escalated, more time bought — until either the BoJ's policy narrows the gap or the fundamentals overwhelm the defence.
This article is for information only and is not financial advice. Trading forex and CFDs carries a high risk of losing money. Read the risk warning. Spotted an error? Tell the editors.
Comments
Log in to join the discussion. Comments follow the community guidelines.
Log in to commentLoading comments…